
by Annie | Sep 28, 2011 | Game Design
Today, our first game, MotionMaze, went live in the App Store. Nothing can quite prepare you for the excitement, pride, and craziness that follows the release of a game. MotionMaze was created within 2 weeks. After spending a significant amount of time designing a larger game with tons of features, we decided that creating a smaller game to prove out the tech and the crazy ideas in our heads might be more useful. And the good thing about working on such a small team is that U-turns and detours can be achieved quite easily. From a game design perspective, working under a strict 2-week deadline is both daunting and helpful. Having to create everything in two weeks forced us to focus on the most crucial features in our game, resulting in a streamlined experience. Sure, there are features I would have added if we had more time, but ultimately, the game is immensely more useful in the hands of players than sitting on our computers here in the office. So check it out for yourself. Head on over to the App Store and download MotionMaze now!...

by Annie | Aug 24, 2011 | Game Design
I played a game today. No, it wasn’t Monopoly, Minesweeper, or Street Fighter. A few days ago, I got an Amazon gift card from my parents-in-law. So today, I played the Amazon gift card game. Curious? Here’s the high-level pitch: Play as a shopper trying to buy as many different items for a new apartment as possible while staying within the gift card amount. Rules: – Items must currently be in stock. – Shipping cost for each item cannot exceed item cost. – Bonus points for items that can be shipped together. The Result: I started out by filling up my shopping cart with over 3 times the amount of the gift card. Lots of balancing, compromising, and trading later, I ended up purchasing 8 different items for various rooms of my new apartment. In the process, I rediscovered some things I already had, prioritized my shopping list, and got a better idea of what I was looking for. The Takeaway: Anything in life can be a game. Look around you. Take any task, set a specific goal, add a few stipulations and a potential reward, and voila! You’ve got fun waiting for you around every corner. Don’t believe me? Try it out. Here are some daily tasks to get you started: – Waiting for the bus – Washing dishes – Going grocery shopping – Paying bills – Making the bed Anyone can be a game designer. Fill your life with games, and you can play even the most ordinary moments...
by Annie | Jun 8, 2011 | Game Design
From our first day at VFS, Industry Night was dangled like a carrot before us, that seemingly unreachable goal light years away. Yet after months of hard work, countless brainstorming sessions, and tons of great feedback, we’d produced a game. And a few hours ago, we presented it to the industry. In many ways, Industry Night is the culmination of the VFS game design experience. After working closely with a small team for several months to produce a game, you’re invited to present your game to a group of people from the games industry, who then come and play your games. Our Industry Night included action games, puzzle platformers, adventure games, and shooters. Our games incorporated creativity, solid design, and unique mechanics. And after working day in and day out with these guys over the past several months, I can say that I’m extremely proud of all the games we showed tonight. If you’re interested, you can read more about the games and even try them out for yourself. Be forewarned, though, that some of them can be very addictive....

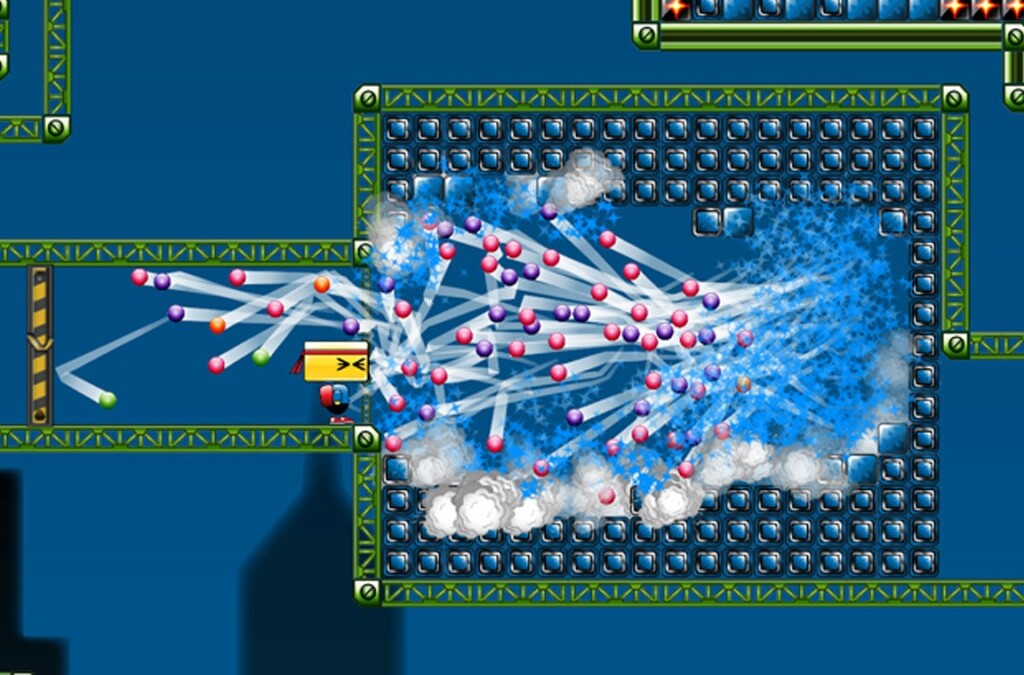
by Annie | Mar 30, 2011 | Game Design
Creating a full game for the first time no doubt brings about surprises. But one surprise I didn’t expect was having to dig up the little high school trigonometry knowledge I’d long ago buried in the deep recesses of my brain. So dust off the cobwebs and come along for the ride. Here’s your daily dose of vector math. Aim Assist Ball In the process of designing ball powerups for our game, we decided to add an aim assist ball that would show players the trajectory of the ball, as well as the first deflection, allowing players to line up their shots more accurately for long shots. The task of programming this nifty little powerup fell to me. Ball Physics To start, I looked at the ball physics of classics like Pong and Arkanoid, analyzing the angles of deflection and trying to figure out the patterns. Soon, it was time to get out the graph paper and start plotting points. In order to show the trajectory, I would need to know the initial angle the ball was aimed. In order to figure out the angle of deflection, I would need to figure out the orientation of the surface the ball would hit, as well as the angle of the collision. After plugging and chugging several sets of numbers and angles, I finally realized the common thread. So for those of you still hoping to create a Pong game of your own, here’s the anatomy of ball deflection. Hit Normal First and foremost, we need to figure out the orientation of the surface the ball hits. Is the surface vertical, horizontal,...

by Annie | Mar 22, 2011 | Game Design
As we’re starting to create levels in Unity, we’re discovering that making 2D levels in a 3D environment is no walk in the park. Luckily, we’ve discovered UniTile, an easy to use yet powerful tile-based 2D map editor for Unity. If you’re interested, you should definitely check out the UniTile demonstration video to glimpse some of its capabilities. UniTile allows us to “paint” levels into Unity, then immediately jump into them to test them out, decreasing our level building time by several hours. If you’ve decided that UniTile is appropriate for your project, here are a few simple steps for setting up and getting started. Installing UniTile UniTile comes as a Unity package, so you can just import the package into any existing project. Once you’ve saved the package on your computer, open your Unity project, then go to Assets > Import Package and browse to find the UniTile package. Creating Textures Before setting up UniTile in a new scene, you’ll need a texture that holds the pieces you want to use in your level. I create my textures in Adobe Illustrator, then export them as PNGs. Importing Textures You can then import the texture into your project. To do this, right-click in the Project window and go to Import New Asset, then find your texture. After importing, I modify the following settings for my textures: Filter Mode: Trilinear Texture Type: Advanced Generate Mip Maps: Disable Creating Materials After importing the texture, create a new material. To do this, right-click in the Project window and go to Create > Material. Drag your texture onto the material and adjust the material settings. For...